From October 2024, it is necessary to call PnpConnect with an application key
1. Connect to Entra ID admin Center : https://entra.microsoft.com/
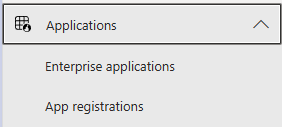
2. Click on Applications > App registrations
3. In the Name field, set a name and Click on Register

4. Note the Application Client ID

5. Click on API permissions
6. Click to Ellipse on User.Read and Remove all permissions. Confirm the Pop-up

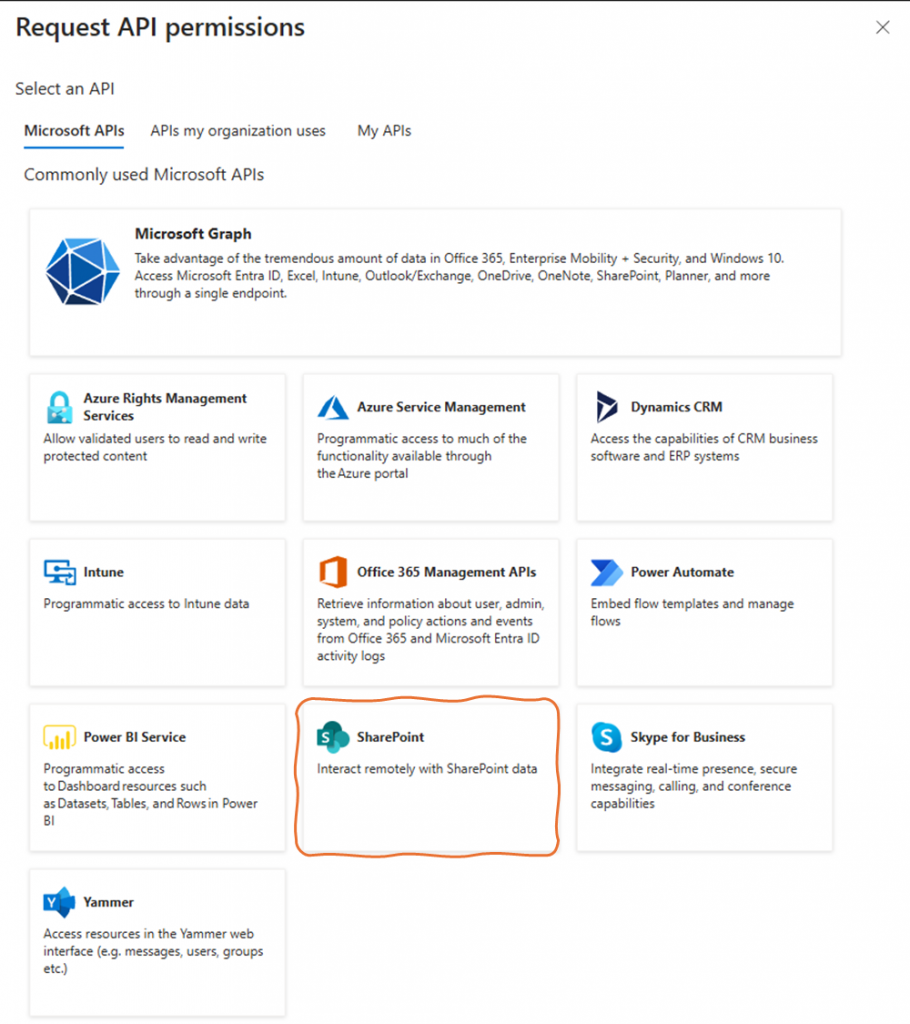
7. Click on Add a permission

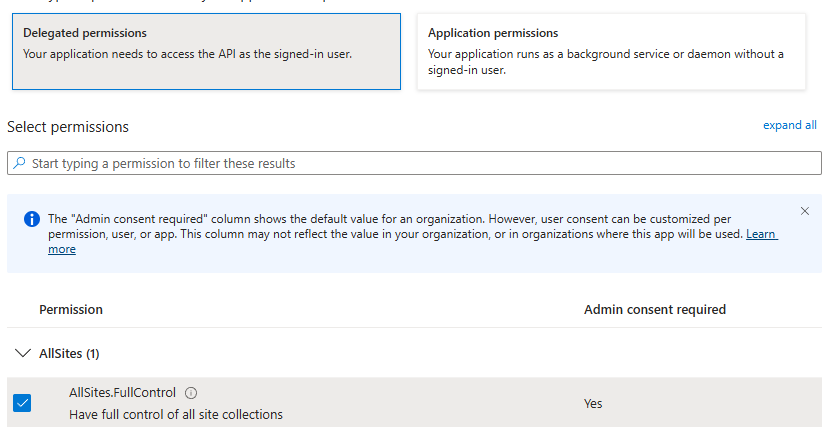
8. Select SharePoint Tile
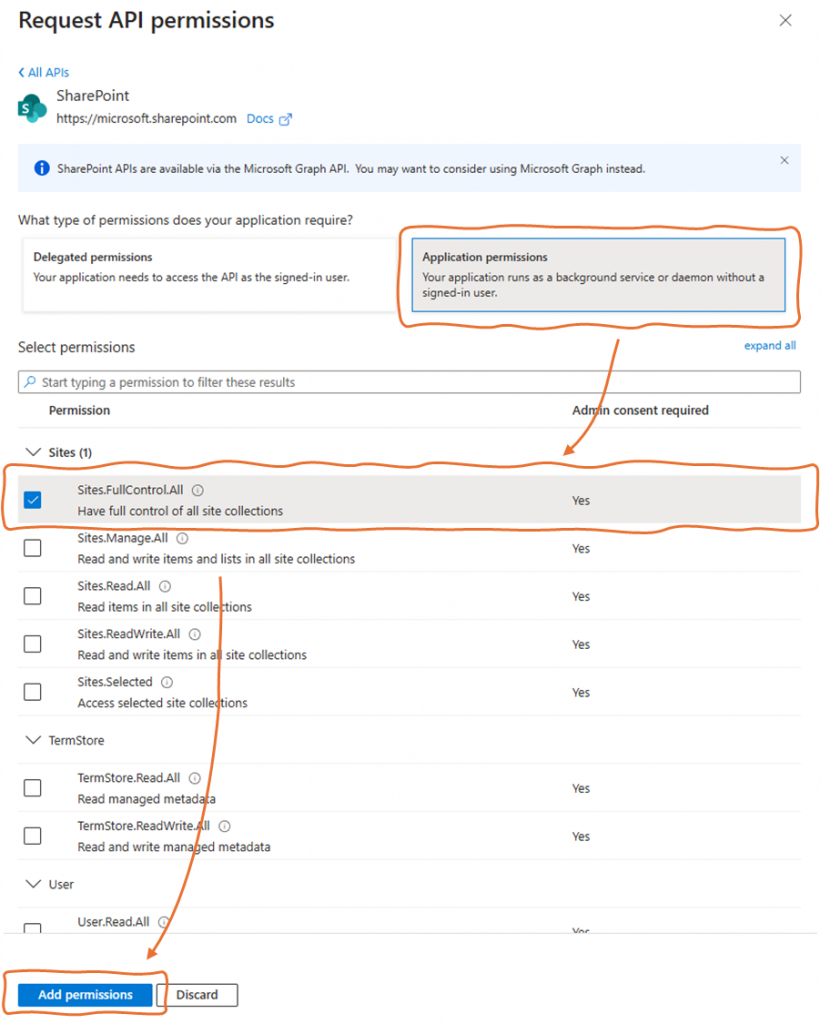
9. Click Application permissions, select Sites.FullControl.All and click on Add Permissions
10. Do the Same thing with Delegated permissions > AllSites.FullControl
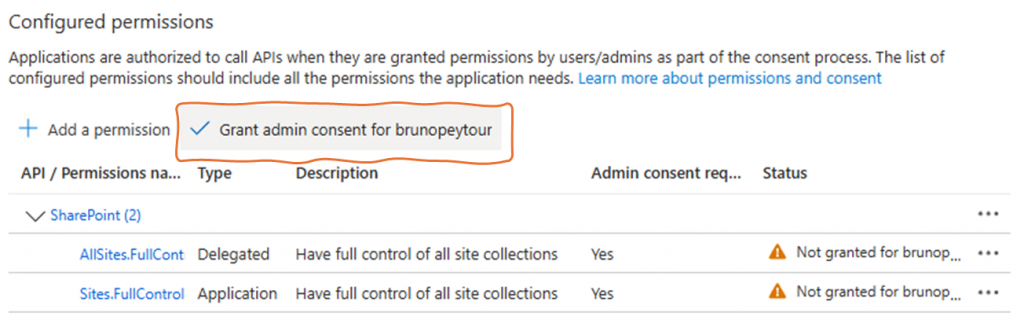
11. Click on Grant admin consent
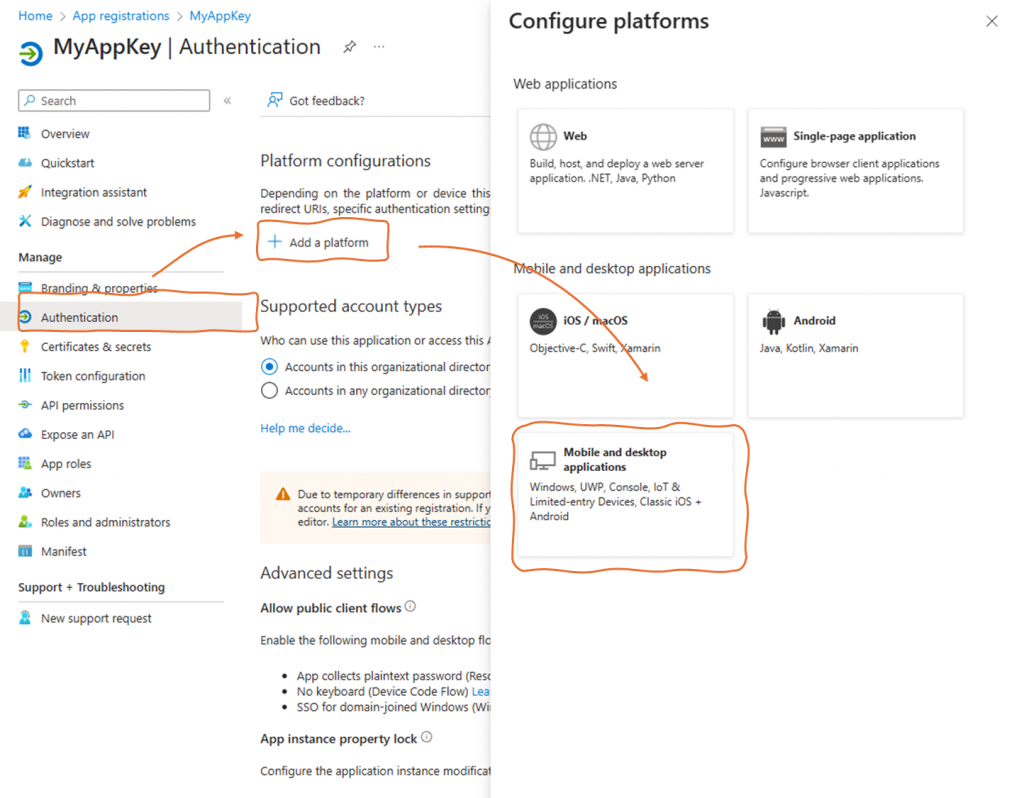
12. Click on Authentication > Add a platform > Mobile and desktop applications
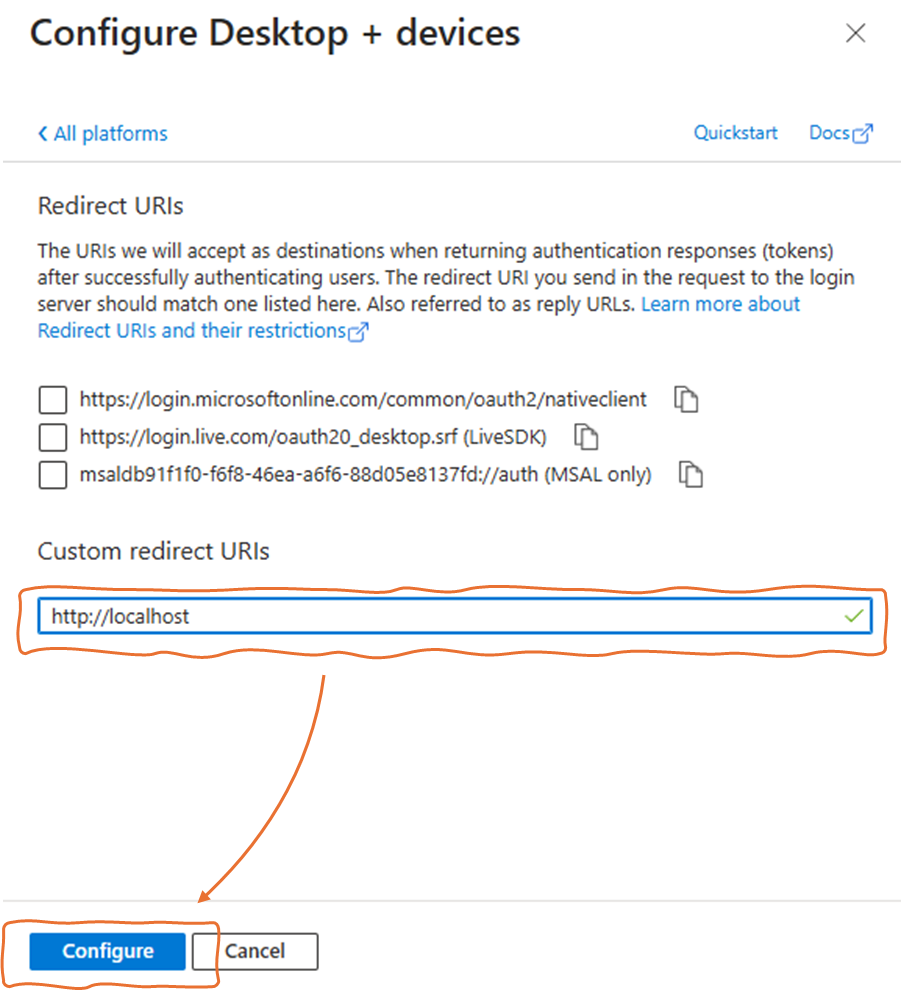
13. Add « http://localhost » in Custom redirect URIs and confirme by Configure Button
14. in PowerShell 7 console, update Pnp.PowerShell
Update-Module -Name PnP.PowerShell15. Connect to SharePoint Site
$SiteURL="https://YourTenant.sharepoint.com/sites/YourSite"
$env:ENTRAID_APP_ID = 'YOUR_APP_KEY'
Connect-PnPOnline -Url $SiteURL -Interactive
16. Now, you can create a new List by Pnp
New-PnPList -Title "MyPnpList" -Url "lists/MyPnpList" -Template GenericList -Verbose