Let’s explore one of the many ways to add an image to SharePoint. In this article, we’ll add an image to the SharePoint Library by PowerAutomate
Create a flow
1. Create Flow with When Power Apps calls a flow (V2) trigger
2. Add File Input named FileContent
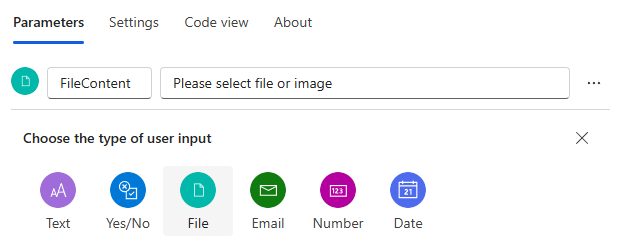
This type of parameter will generate two properties: the file name and the file content.
So, when we call up the input parameters, we have the two types of information available in Power Automate :

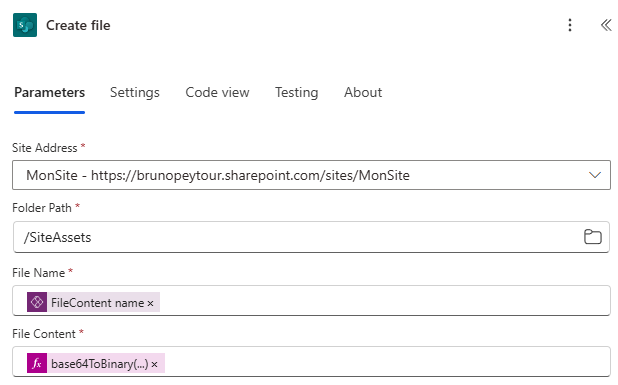
3. Create a new action with Create File action from SharePoint connector

4. Set different values to action properties :
- Site Adress : Your SharePoint Site
- Folder Path : the folder to save your image
- File Name : File Content name from Trigger
- File Content : File Content in base64ToBinary Method
base64ToBinary(triggerBody()?['file']?['contentBytes'])
You should obtain the following settings :
5. save your flow
Add PowerAutomate Flow in PowerApps
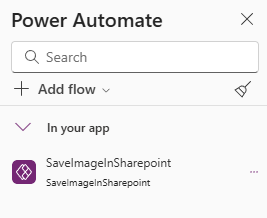
6. Add the flow created in PowerApps
In PowerApps, add a image picker
7. Add un Image Picker
In PowerApps, the ImagePicker control for selecting an image from your computer does not exist in the available controls.
There are two ways around this problem :
a) Either create a form and copy the control for adding an attachment.
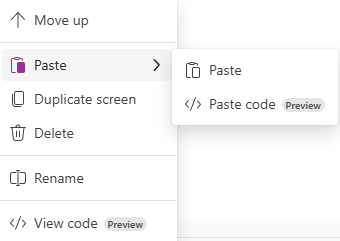
b) Or copy this code and paste it into the PowerApps page as Paste as Code
- inImagePicker:
    Control: AddMedia@2.2.1
    Properties:
      BorderColor: =RGBA(0, 18, 107, 1)
      Height: =55
      Width: =217
      X: =546
      Y: =195
8. Add a new Image Control.
We need this control to store the image selected in the inImagePicker control.
This control will then be used to add the image to SharePoint
Name : inImageFromPicker
Image : inImagePicker.Media
The Image property is based on the Media property of our ImagePicker
9. Add a Button control name btnLoadInSharePoint, with the following settings :
SaveImageInSharepoint.Run({
         contentBytes: inImageFromPicker.Image,
         name: inImagePicker.FileName
     }
)
You should get this screen :
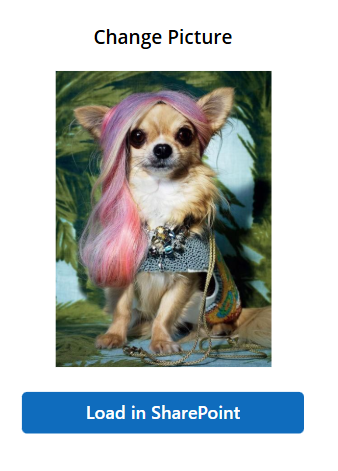
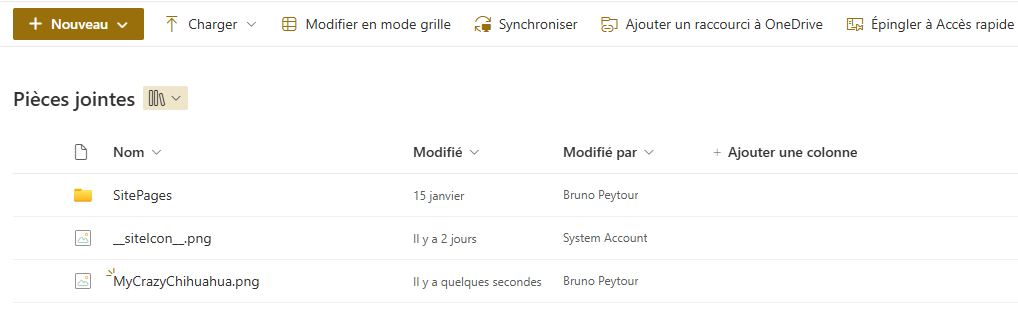
10. Execute your new App.
After selecting an image by clicking on the Image Picker, the image is displayed in the inImageFromPicker control.
Then click on the button, the onSelect event will call the flow SaveImageInSharepoint.
This will upload your photo to SharePoint :