We want to retrieve an image from the Internet and add it to a directory in the SharePoint library.
To do this, we’re going to rely on a Flow that fetches the image via an HTTP call, then a PowerApps page that calls the Flow.
Get Image and Save in SharePoint with PowerAutomate
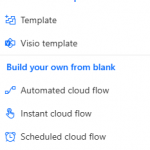
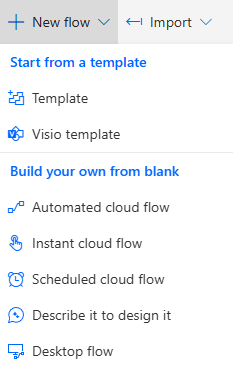
1. Create a Instant cloud flow (+New flow > Instant cloud flow)
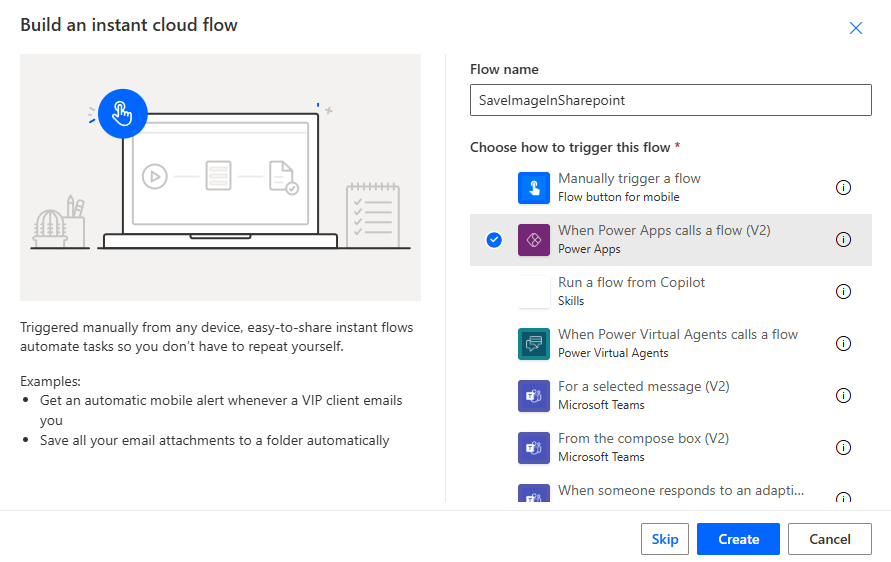
2. Select When Power Apps calls a flow (V2) trigger and click on Create
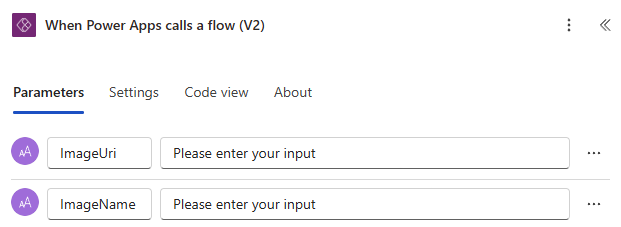
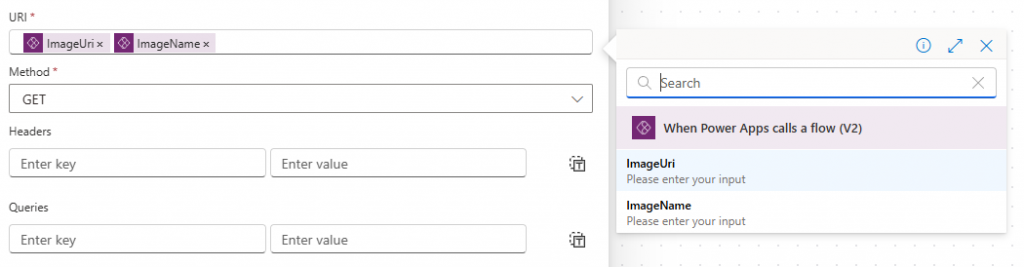
3. Add Text input parameters ImageUri and ImageName to trigger
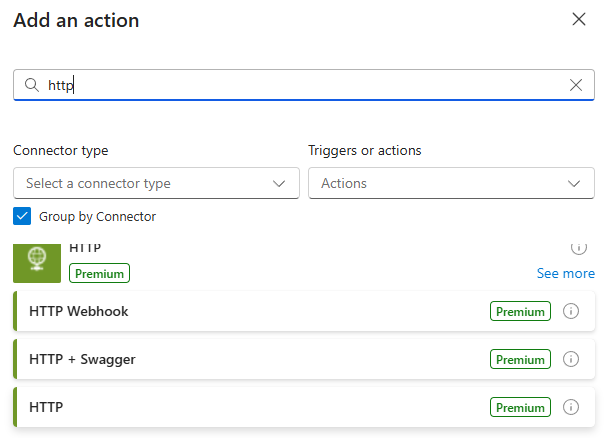
4. Add a new action under the trigger and select HTTP action from HTTP connector
5. Set URI parameter with ImageUri and ImageName variable
In code :
uri: @{triggerBody()?['text']}@{triggerBody()?['text_1']}
method: GET
When the HTTP action is executed, we’ll get this response:
{
  "$content-type": "image/jpeg",
  "$content": "CONTENT OF IMAGE"
}
In the next step, we will extract the variable $content to create our new file in SharePoint.
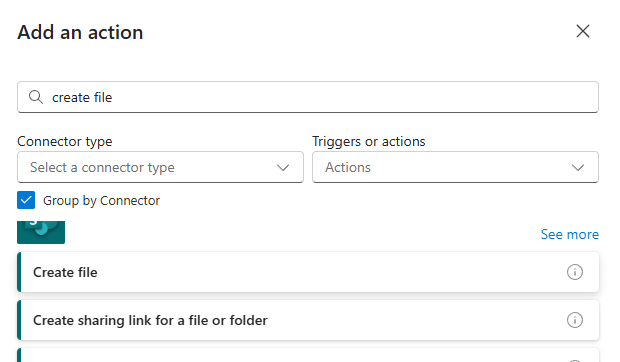
6. Add Create File Action from SharePoint connector
7. Set the following parameters
- Site Adress : Your SharePoint Site
- Folder Path : Your Documents Library folder
- File Name : ImageName from Trigger
- FileContent : base64ToBinary(body(‘HTTP’)?[‘$content’])
In File Content, We retrieve our image with the variable $content from the HTTP action. But first we need to convert it to Binary from Base64 format

8. Save your flow
Call Flow from PowerApps
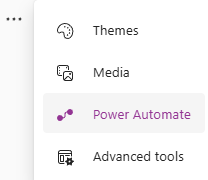
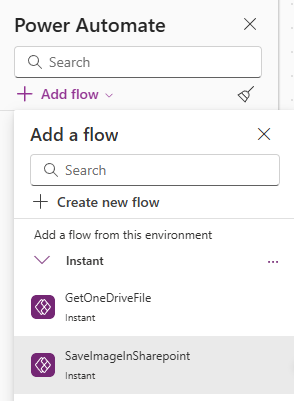
9. Add the new Flow and select SaveImageInSharePoint flow
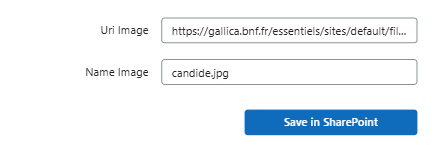
10. Add an Input Control with following properties.
This control will be used to set the image address
Name : inImageUri11. Add a new Input Control :
Name : inImageNameThe user can enter the image name in this Input control
12. Add a button Control named btnSaveImage
You must have the following page with 2 input controls and the button action
13. in OnSelect property of the new button :
SaveImageInSharepoint.Run(
   inImageUri.Value, inImageName.Value
)
14. You can execute with F5 Mode